
How To Create Tattoo Stencils At Home: A Comprehensive Guide
How to Create Tattoo Stencils at Home: A Comprehensive Guide
In the spirit of discovery, we shall examine the exciting topic concerning How to Create Tattoo Stencils at Home: A Comprehensive Guide. We are here to share fresh knowledge and offer distinctive points of view.
Video about How to Create Tattoo Stencils at Home: A Comprehensive Guide
How to Create Tattoo Stencils at Home: A Comprehensive Guide
Creating tattoo stencils at home can be an exciting and rewarding experience, especially for those who are interested in tattoo art or who want to design their own tattoos. With the right tools and techniques, you can create high-quality tattoo stencils from the comfort of your own home. In this article, we will provide you with a step-by-step guide on how to create tattoo stencils at home, including the materials you’ll need, the design process, and the transfer method.
Materials Needed
Before we dive into the process, let’s go over the materials you’ll need to create tattoo stencils at home:
- Paper or vellum: You’ll need a sheet of paper or vellum that is thin enough to transfer the design onto the skin.
- Pen or pencil: A fine-tip pen or pencil is necessary for drawing the design onto the paper or vellum.
- Ink or toner: You’ll need a source of ink or toner to create the stencil. You can use a printer or a copy machine to create the design.
- Transfer paper: This type of paper is coated with a substance that allows the design to be transferred onto the skin.
- Transfer gel or spray: This is used to apply the transfer paper onto the skin.
- Reference image: Having a reference image of the design you want to create will help you get an idea of what the finished stencil should look like.
- Scalpel or craft knife: This is used to cut out the design from the stencil paper.
Design Process
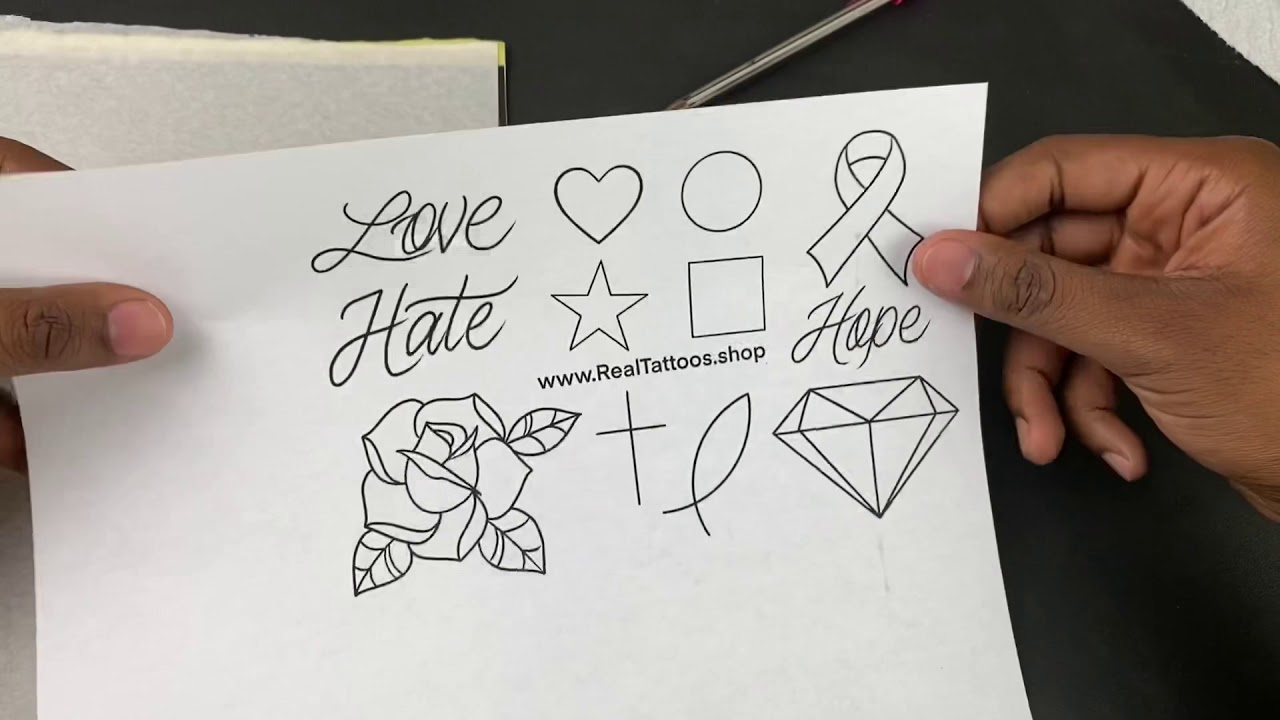
The first step in creating a tattoo stencil at home is to design the image. This can be done by hand or using computer software.
- Sketch the design: Use a pen or pencil to sketch the design onto a piece of paper. You can also use a computer program like Adobe Illustrator or Photoshop to create the design.
- Refine the design: Once you have the basic design, refine it by adding details and making sure the proportions are correct.
- Mirror the image: Since tattoo stencils are applied to the skin in reverse, mirror the image so that it is a reverse copy of the original design.
Creating the Stencil
Once you have the design, you can create the stencil.
- Print the design: Use a printer or copy machine to print the design onto the paper or vellum. Make sure the design is reversed, as mentioned earlier.
- Cut out the design: Use a scalpel or craft knife to cut out the design from the paper or vellum. Make sure to cut carefully and accurately, as the stencil will be used to transfer the design onto the skin.
- Soak the stencil: Soak the stencil in warm water for a few minutes to loosen the paper or vellum.
Transferring the Stencil
Now that you have the stencil, you can transfer it onto the skin using transfer paper and gel or spray.
Closure
We trust this article has provided clarity on How to Create Tattoo Stencils at Home: A Comprehensive Guide. We appreciate your time spent reading this. Catch you in the next one!.


